Running a Local LLM on a Raspberry Pi 5 (or Home Server)
Everyone assumes local AI needs a GPU. Here's how I got a local LLM running on a Raspberry Pi with Ollama, what speed to actually expect, and where the limits are.

A few weeks ago I got curious about something. Everyone's talking about local LLMs, running your own AI model instead of paying OpenAI or Anthropic per token. But most of the guides assume you've got a beefy GPU sitting around. What about the rest of us running Raspberry Pis and old mini PCs in a closet?
Turns out you can absolutely run a local LLM on a Raspberry Pi or a home server. It won't replace Claude or ChatGPT for anything complex, but for private, offline, zero-cost AI on hardware you already own, it works better than I expected. Here's exactly how I set it up, what actually runs at a usable speed, and where the limits are.
Why Run an LLM Locally in the First Place
Before we get into the how, let's talk about the why, because "because I can" is a valid reason but not the only one.
- Privacy. Nothing you type leaves your network. No API logs, no third party seeing your prompts.
- Zero ongoing cost. Once it's running, there's no per-token bill. You already paid for the hardware.
- Offline access. If your internet goes down, your local assistant doesn't care.
- It's a genuinely fun homelab project. Same energy as setting up Netdata monitoring on the Pi or self-hosting Ghost. You learn a ton by doing it yourself.
What it's not good for is replacing a frontier model for coding help or research. Set that expectation now and you'll enjoy this a lot more.
What Hardware You Actually Need
This is where most guides get vague, so let's be specific. The single biggest bottleneck is RAM, not CPU speed, because the model weights have to fit in memory before anything else matters.
| Device | RAM | What Realistically Fits |
|---|---|---|
| Raspberry Pi 4 (4GB) | 4GB | 1B models only, slow but functional |
| Raspberry Pi 4/5 (8GB) | 8GB | 1B to 3B models comfortably |
| Old mini PC / home server (16GB+) | 16GB+ | 3B to 7B models, noticeably smoother |
If you're buying hardware specifically for this, get the Raspberry Pi 5 with 8GB of RAM. It's roughly 2 to 3 times faster than a Pi 4 for inference, and that difference is the gap between "usable" and "why did I do this to myself." If you've already got a home server sitting around from another project, even better. More RAM means bigger, smarter models.

One thing that trips people up: the Pi's GPU (VideoCore) doesn't help here at all. Every bit of this runs on the CPU cores. So don't expect graphics card style speed, this is pure CPU inference and it shows.
Quick check before you start: run uname -m on your Pi. You need aarch64 back, not armv7l. If you see armv7l, you're on a 32-bit OS and need to reflash with the 64-bit Raspberry Pi OS Bookworm image first.
Picking Your Runtime: Ollama vs llama.cpp
There are two main ways to actually run the model once you've got weights downloaded.
Ollama is the easy button. One install script, one command to pull a model, one command to run it. It wraps llama.cpp under the hood and exposes a clean REST API that mirrors OpenAI's format, which means tools like Open WebUI just work with it out of the box.
llama.cpp directly gives you a bit more raw performance, somewhere in the 10 to 20 percent range on a Pi, plus more control over quantization formats. The tradeoff is you're compiling from source and managing more of the setup yourself.
For a first build, I'd go with Ollama every time. You can always drop down to llama.cpp later once you know which model and quantization actually works for your use case. That's the path I took, and it saved me a lot of trial and error up front.
Setting Up Ollama on Raspberry Pi OS
Assuming you're running the 64-bit Lite version of Raspberry Pi OS Bookworm (skip the desktop environment, you want every bit of RAM going toward the model, not a GUI you'll access over SSH anyway):
# Install Ollama, the script auto-detects ARM64
curl -fsSL https://ollama.ai/install.sh | sh

# Confirm it's running
sudo systemctl status ollama
By default Ollama only listens on localhost. If you want to hit it from other devices on your network (which you probably do, since SSHing in just to chat with a model gets old fast), set it to listen on all interfaces:
sudo systemctl edit ollamaAdd this under the service section, then restart:
[Service]
Environment="OLLAMA_HOST=0.0.0.0"
sudo systemctl restart ollamaThat's the entire install. No Docker, no Python environment, no dependency hell. This is genuinely one of the more pleasant setups in my homelab.
Choosing a Model That Won't Make You Wait
This is the part that actually matters for whether this project feels magical or frustrating. Model size and quantization determine your speed, and on a Pi, speed is everything. Here's roughly what to expect on an 8GB Pi 5, based on my own testing and benchmarks from the broader Pi homelab community.
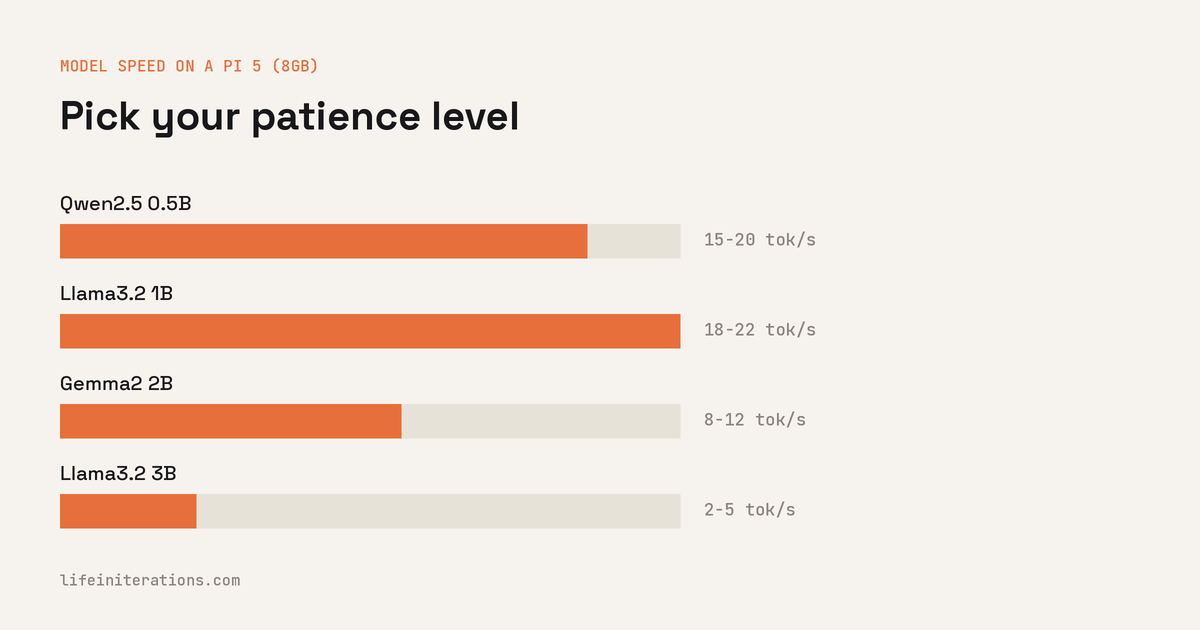
| Model | Size | Rough Speed (Pi 5, 8GB) | Best For |
|---|---|---|---|
| Qwen2.5:0.5b | 0.5B | 15-20 tok/s | Near-instant replies, simple tasks |
| Llama3.2:1b | 1B | 18-22 tok/s | Best all-around speed on a Pi |
| Gemma2:2b | 2B | 8-12 tok/s | Noticeably better answers, still usable |
| Llama3.2:3b | 3B | 2-5 tok/s | Best quality that still fits, patience required |
| Phi-3:mini (3.8B) | 3.8B | 4-7 tok/s | Strong reasoning for its size |
My honest recommendation if you're just getting started: pull llama3.2:1b first. It's fast enough to feel like a real conversation, and it gives you a baseline to compare everything else against.
ollama pull llama3.2:1b
ollama run llama3.2:1b
Once you've got a feel for it, try gemma2:2b if you want better quality and don't mind a slower reply. Skip anything above 4B on a Pi. I tried a 7B model out of curiosity and watched it generate at under one token per second. That's not usable, that's a demonstration of patience.
Giving It a Proper Chat Interface
The terminal works fine for testing, but if you want something the rest of your household can actually use, pair Ollama with Open WebUI. It's a self-hosted chat interface that talks to Ollama's API and looks and feels like ChatGPT.
Since I'm already running everything else in this homelab through Docker Compose, I spun up Open WebUI the same way:
docker run -d \
  --name open-webui \
  -p 3000:8080 \
  -e OLLAMA_BASE_URL=http://host.docker.internal:11434 \
  -v open-webui:/app/backend/data \
  --restart always \
  ghcr.io/open-webui/open-webui:main
Point it at your Pi's Ollama instance, and now anyone on your home network can open a browser tab and chat with your local model. No accounts, no cloud, no data leaving the house.
Squeezing Out More Performance
A few things made a real difference once I moved past the basic setup:
- Active cooling matters more than you'd think. Sustained inference keeps the CPU pegged, and a passively cooled Pi will thermal throttle mid-response. A cheap fan solved this.
- Boot from an SSD, not a microSD card. Model loading time depends heavily on storage speed. A USB SSD cut my load times noticeably.
- Stick to Q4 quantization unless you have a specific reason not to. It's the sweet spot between size and quality. I only bumped to Q5 when I noticed a model getting facts wrong that Q4 kept flubbing.
- Skip the desktop environment entirely. Every bit of RAM the OS isn't using is RAM your model can use instead.
What I'm Actually Using This For
Realistically, a Pi-hosted LLM isn't going to be your daily driver for deep work. Where it earns its keep is smaller, well-defined jobs:

- A private notes assistant that summarizes text without sending it anywhere
- Quick offline queries when I don't want to open a browser tab
- A REST API endpoint I can call from home automation scripts, since Ollama exposes one automatically
- Batch summarization jobs I run overnight, where speed doesn't matter as much
It's not trying to be Claude. It's a small, private, always-on tool that happens to live on the same shelf as my Ghost server.
Where This Goes Next
If you've followed along with the RAG explainer post I wrote earlier, you already know where this is headed. A local model paired with your own documents through retrieval augmented generation turns this from "a chatbot on a Pi" into "a private assistant that actually knows my stuff." I have since built exactly that: a private RAG assistant using pgvector and Ollama, running against this same local setup instead of a cloud API.
For now, if you've got a Pi or an old mini PC gathering dust, this is a genuinely satisfying weekend project. Start with llama3.2:1b, get comfortable with Ollama, and go from there.