Automating Backups to Google Drive (No S3 Bill )
Why pay for S3 when you have Google Drive and cron skills? Here is the exact rclone setup I use to back up MySQL for $0 a month.

Why pay for S3 when you have Google Drive storage and cron skills sitting right there?
That was the exact question I asked myself when I started thinking about backups for this blog. S3 is genuinely great, but for a one-person project, paying a recurring bill to store a database that fits in a few hundred megabytes felt like buying a storage unit to keep a single shoebox. Meanwhile I had 15GB of Google Drive doing nothing.
This is also the post I promised back in my cron debugging writeup, so if you followed along there, this is where those scheduling skills start paying off. Here is everything, start to finish.
What I built
The whole thing is one shell script and one cron entry. Every night at 3am, the Pi does this:
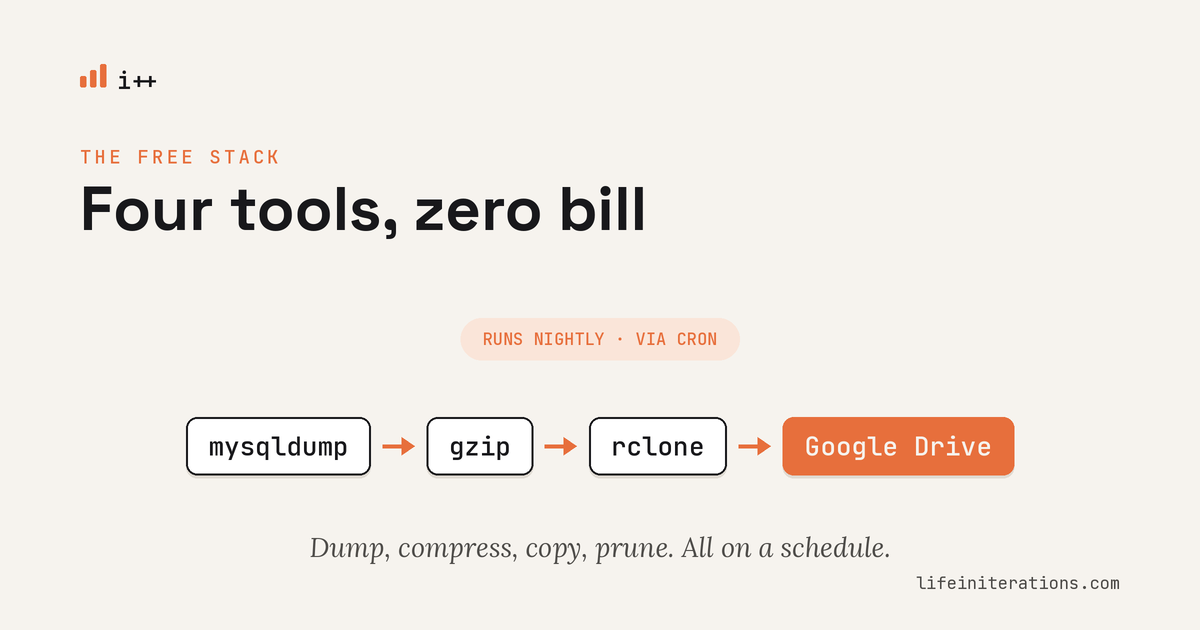
mysqldump  ->  gzip  ->  rclone copy  ->  Google Drive
                                              |
                                        prune old copies
                                       (local + remote)
It dumps the database, squeezes it down with gzip, pushes it to a folder in Google Drive, then deletes anything older than two weeks on both ends so nothing piles up. Off-site, automated, free. That is the entire promise.
Why off-device backups actually matter
Quick reality check before we build anything. A backup that lives on the same machine as your database is not a backup. It is a copy.
I run my database on a Raspberry Pi, and SD cards have a habit of dying with no warning. If that card fails and my only backup is sitting on the same card, I lose both at the same moment. That is the worst possible outcome dressed up to look safe.
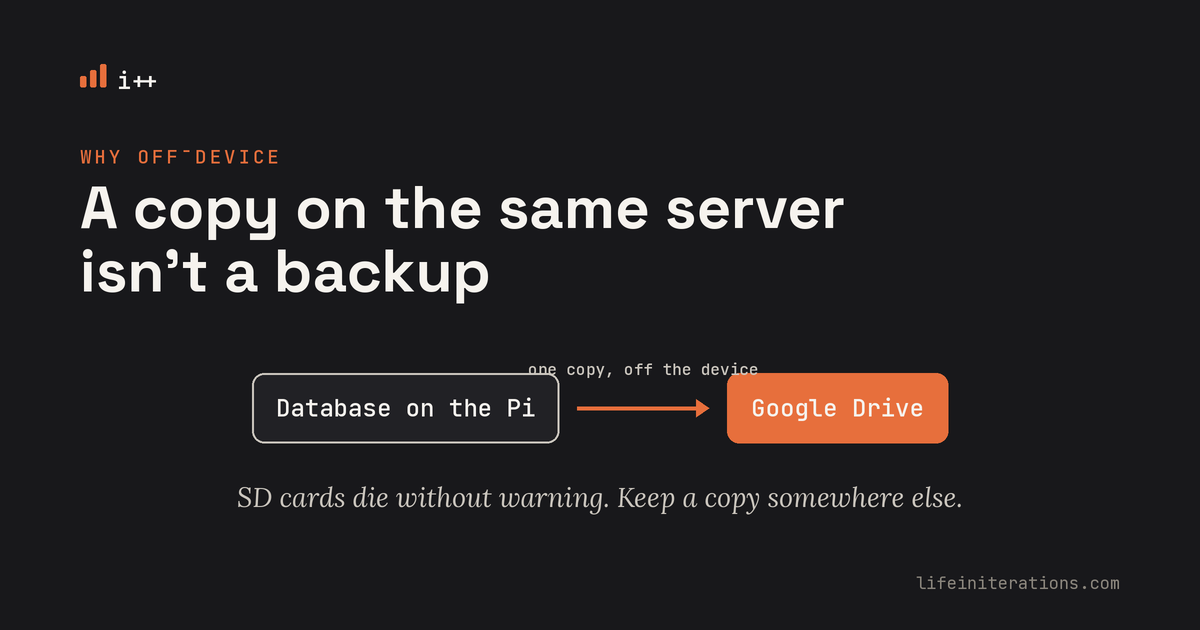
This is the idea behind the 3-2-1 rule that storage folks love: keep three copies of your data, on two different types of media, with one copy off-site. We are not going full enterprise here, but getting one solid copy off the device is the single highest-value move you can make. Google Drive is that off-site copy.
What you need before you start
Nothing exotic:
- A server running MySQL. Mine is MySQL 8 inside Docker, managed with Docker Compose, but the approach works for a plain install too.
- rclone, which we will install in a second.
- A Google account with some free Drive space.
- Basic comfort with cron. If you are shaky there, my cron post covers the gotchas.
Step 1: Install rclone
rclone is the tool that talks to Google Drive (and about forty other cloud providers). On the Pi, I grabbed it with the official install script:
curl https://rclone.org/install.sh | sudo bash
If you would rather not pipe a script into bash, sudo apt install rclone works too, though the version in your distro repo is usually older. I went with the official script to get the latest Drive fixes.
Confirm it landed:
rclone version
Step 2: Connect rclone to Google Drive (the headless way)
This is the part that trips people up on a Pi, because the Pi has no browser to complete the Google login. The trick is to run the authorization on a machine that does have a browser, then paste the result back.
Start the config wizard on the Pi:
rclone config
Walk through it like this:
- Press
nfor a new remote. - Name it
gdrive. - For the storage type, type
drivefor Google Drive. - Leave
client_idandclient_secretblank for now (more on this below). - For scope, choose
drive.file. This is the important one. It limits rclone to only the files it creates itself, so it can never read or touch the rest of your Drive. Least privilege, by default. - When it asks "Use web browser to automatically authenticate?", answer
n, because the Pi is headless.
rclone then prints a command to run on your laptop or desktop, something like rclone authorize "drive". Run that on your everyday machine, log in through the browser that pops up, and rclone hands you a token (a chunk of JSON). Copy that token, paste it back into the Pi's prompt, and you are connected.
Worth knowing: your own client ID
By default rclone uses a shared Google API client that everyone else is also using, so you can hit rate limits on busy days. For a nightly backup it rarely matters, but if you want it rock solid, create your own OAuth client ID in the Google Cloud Console and paste it in during config. The rclone docs have a clear walkthrough.
Test that the connection works:
rclone lsd gdrive:
rclone mkdir gdrive:lifeiniterations/mysql
The first command lists your top-level Drive folders. The second creates the folder our backups will live in. If both run without complaint, you are ready for the fun part.
Step 3: Write the backup script
Here is the script I use. Save it as backup-mysql.sh somewhere in your home directory, like /home/pi/backups/. I will break it down right after.
#!/usr/bin/env bash
#
# backup-mysql.sh
# Dump the Ghost MySQL database, compress it, ship it to Google Drive
# with rclone, then prune old copies on both sides.

set -euo pipefail

# Cron runs with a bare PATH, so set it explicitly (lesson learned the hard way)
export PATH="/usr/local/sbin:/usr/local/bin:/usr/sbin:/usr/bin:/sbin:/bin"

# --- Settings ---
COMPOSE_FILE="/home/pi/ghost/docker-compose.yml"
DB_SERVICE="db"                               # service name in docker-compose.yml
DB_NAME="ghost"
BACKUP_DIR="/home/pi/backups/mysql"
RCLONE_REMOTE="gdrive:lifeiniterations/mysql"
KEEP_DAYS=14
LOG_FILE="/home/pi/backups/rclone.log"

# --- Derived ---
STAMP="$(date +%Y-%m-%d_%H-%M-%S)"
FILE="ghost_${STAMP}.sql.gz"
DEST="${BACKUP_DIR}/${FILE}"

mkdir -p "$BACKUP_DIR"
echo "[$(date)] starting backup -> ${FILE}"

# Dump straight into gzip. The password is read from the container's own
# environment, so it never appears on a command line or in this file.
docker compose -f "$COMPOSE_FILE" exec -T "$DB_SERVICE" \
  sh -c 'MYSQL_PWD="$MYSQL_ROOT_PASSWORD" mysqldump -u root \
      --single-transaction --quick --routines --no-tablespaces "$1"' \
  sh "$DB_NAME" | gzip > "$DEST"

echo "[$(date)] dump written: $(du -h "$DEST" | cut -f1)"

# Push to Google Drive
rclone copy "$DEST" "$RCLONE_REMOTE" --log-file "$LOG_FILE" --log-level INFO
echo "[$(date)] uploaded to ${RCLONE_REMOTE}"

# Prune copies older than KEEP_DAYS, locally and remotely
find "$BACKUP_DIR" -name 'ghost_*.sql.gz' -mtime +"$KEEP_DAYS" -delete
rclone delete "$RCLONE_REMOTE" --min-age "${KEEP_DAYS}d"

echo "[$(date)] done"
Let me walk through the parts that matter.
Setting PATH at the top. Cron does not run with your normal shell environment. It uses a stripped-down PATH that often does not include docker or rclone, which leads to the classic "works when I run it, fails from cron" headache. Setting PATH explicitly avoids the whole problem. This is the same lesson from the cron post, just showing up again.
The mysqldump flags. --single-transaction gives me a consistent snapshot of the database without locking tables, which is exactly what you want for InnoDB (the default engine in MySQL 8). --quick streams rows one at a time instead of buffering them in memory, which the Pi appreciates. --routines includes stored procedures and functions. --no-tablespaces avoids a permissions error that MySQL 8 can throw during dumps.
The password trick. This is my favourite part. Notice the password is never written in the script and never typed on a command line. The db container already knows its own root password through the MYSQL_ROOT_PASSWORD variable it was started with. So I just reach into the container, set MYSQL_PWD from that existing variable, and let mysqldump use it. The secret lives in exactly one place (your Compose environment), and nothing leaks into your process list or your backup script.
Why not just put the password in the script?
Because anything on a command line shows up in the host's process list while it runs, and anything in a script is one misplaced permission away from being readable. Pulling the password from the container's own environment means there is no second copy to leak. One secret, one home.
Piping into gzip. The dump never hits the disk uncompressed. It flows straight from mysqldump into gzip and lands as a .sql.gz file. Smaller file, faster upload.
Pruning both sides. find deletes local dumps older than two weeks, and rclone delete --min-age 14d does the same in Drive. Without this, you slowly fill up both your SD card and your Drive. Adjust KEEP_DAYS to taste.
Step 4: Make it executable and run it once
Backups are the one thing you do not want to discover are broken later, so I always run it by hand first.
chmod 700 /home/kirti/backups/backup-mysql.sh
/home/kirti/backups/backup-mysql.sh
chmod 700 makes the script executable and keeps it readable only by me, which matters since it touches the database. (If you hit a "permission denied" here, the executable bit is usually the culprit, which is a whole story I told in the cron post.)
Then I check that the file actually showed up in Drive:
rclone ls gdrive:lifeiniterations/mysql
If you see a fresh ghost_...sql.gz with a sensible size, the pipeline works.
Step 5: Schedule it with cron
Now hand it to cron. Open your crontab:
crontab -e
And add one line:
0 3 * * * /home/pi/backups/backup-mysql.sh >> /home/pi/backups/cron.log 2>&1
That runs the script every day at 3am and writes everything it prints (and any errors) to cron.log, so I have a paper trail if something ever goes sideways.
One deliberate choice here: I edit the crontab as my own user, “pi” , not as root. The script only needs to talk to Docker and write to my home directory, so there is no reason to hand it root. Running backups as an unprivileged user is a small habit that keeps your blast radius small if anything ever goes wrong.
Step 6: Test the restore (please do not skip this)
Here is the uncomfortable truth about backups: a backup you have never restored is not a backup, it is a hope. The only way to know your dumps are good is to actually load one.
First, a cheap sanity check that the gzip file is not corrupted:
gunzip -t /home/kirti/backups/mysql/ghost_2026-06-22_03-00-00.sql.gz
No output means the archive is intact. Now the real test: load the dump into a throwaway database so you are not touching your live one.
# Create a temporary database
docker compose -f /home/kirti/ghost/docker-compose.yml exec -T db \
  sh -c 'MYSQL_PWD="$MYSQL_ROOT_PASSWORD" mysql -u root \
    -e "CREATE DATABASE IF NOT EXISTS ghost_restore_test"'

# Load the backup into it
gunzip < /home/kirti/backups/mysql/ghost_2026-06-22_03-00-00.sql.gz \
  | docker compose -f /home/kirti/ghost/docker-compose.yml exec -T db \
      sh -c 'MYSQL_PWD="$MYSQL_ROOT_PASSWORD" mysql -u root ghost_restore_test'

# Confirm the tables came through, then clean up
docker compose -f /home/kirti/ghost/docker-compose.yml exec -T db \
  sh -c 'MYSQL_PWD="$MYSQL_ROOT_PASSWORD" mysql -u root \
    -e "SHOW TABLES" ghost_restore_test'
If you see your Ghost tables listed, congratulations, your backups are real. Drop the test database when you are done and sleep easy.
If you set this up and it saves your bacon someday, I would love to hear about it. I share the short version of each of these builds over on Instagram, so come say hi.
Building, lifting, and figuring it out in public.