Self Hosting Personal Blog on a Raspberry Pi
Ghost’s managed hosting starts at $9/month. This guide shows you how to run the exact same stack on a Raspberry Pi for free using Docker, Nginx, and Cloudflare Tunnel.

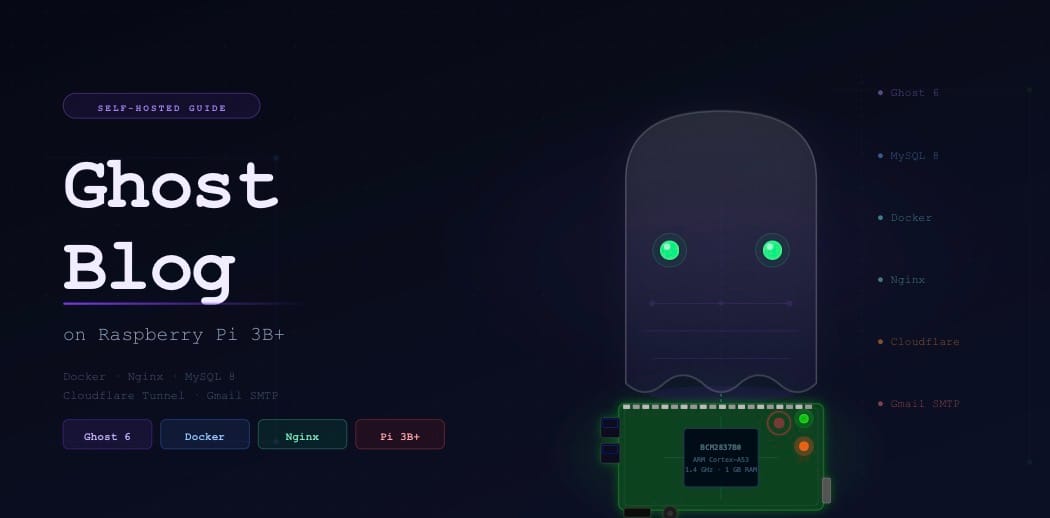
In this guide, I’ll walk you through exactly how I set up Ghost on my Raspberry Pi 3B+ using Docker Compose, with nginx as a reverse proxy and Cloudflare Tunnel to expose it to the internet, no port forwarding, no static IP needed.
Ghost is one of the cleanest blogging platforms out there: fast, Markdown-native, and distraction-free. If you already have a Raspberry Pi sitting around, you can run the entire stack yourself for effectively zero cost. Even this blog site is running from a rpi 3b+.
What You’ll Need
• Raspberry Pi (with Raspberry Pi OS Lite 64-bit recommended)
• A domain name (even a free one works)
• A Cloudflare account (free tier works)
• A Gmail account for transactional emails(recommended only if its personal blog)
• Basic comfort with the terminal
The Stack
| Component | Purpose |
|---|---|
|
Ghost 6
|
The blogging engine |
|
MySQL 8
|
Database (Ghost's preferred backend) |
|
Docker Compose
|
Container orchestration |
|
Nginx
|
Reverse proxy |
|
Cloudflare Tunnel
|
Secure public access no port forwarding needed |
|
Gmail SMTP
|
Transactional emails (member signups, newsletters) |
Step 1 — Install Docker on the Pi
curl -fsSL https://get.docker.com | sh
sudo usermod -aG docker $USERAfter running the above commands, docker should be available on your rpi. However, you need to log out and log in again for group change to take effect
Now, install Docker Compose:
sudo apt install docker-compose-plugin -y
docker compose version
Step 2 — Create the Docker Compose File
Create a project directory
mkdir ~/blog && cd ~/blogNow create a docker compose file with following contents:
version: "3.8"
services:
  ghost:
    image: ghost:6-alpine
    restart: always
    depends_on:
      - db
    environment:
      database__client: mysql
      database__connection__host: db
      database__connection__user: ghost
      database__connection__password: ghostpassword
      database__connection__database: ghostdb
      url: https://yourdomain.com
      mail__transport: SMTP
      mail__options__host: smtp.gmail.com
      mail__options__port: 465
      mail__options__secureConnection: "true"
      mail__options__auth__user: [email protected]
      mail__options__auth__pass: your_app_password
    volumes:
      - ./ghost-content:/var/lib/ghost/content
    ports:
      - "2368:2368"
  db:
    image: mysql:8.0
    restart: always
    environment:
      MYSQL_ROOT_PASSWORD: rootpassword
      MYSQL_DATABASE: ghostdb
      MYSQL_USER: ghost
      MYSQL_PASSWORD: ghostpassword
    volumes:
      - ./mysql-data:/var/lib/mysql
Note on Gmail: You’ll need to create an App Password from your Google account (2FA must be enabled). Do not use your main Gmail password here.
The ./ghost-content bind mount ensures posts, images, and themes survive container restarts and updates.
Step 3 — Set Up Nginx as a Reverse Proxy
You can install nginx globally but I prefer using the docker compose for this. It’s cleaner, and makes orchestration of various parts easier.
Append the following snippet to your docker compose file created in the previous step:
nginx:
image: nginx:alpine
container_name: nginx
restart: unless-stopped
network_mode: host
depends_on:
  - ghost
volumes:
  - ./nginx.conf:/etc/nginx/nginx.conf:ro
  - ./conf.d:/etc/nginx/conf.d:ro
Now we need to create a conf.d directory and nginx.conf file in the working directory
mkdir conf.d
touch nginx.conf
Add the directory to nginx.conf
user  nginx;
worker_processes auto;

events { worker_connections 1024; }

http {
  include       /etc/nginx/mime.types;
  default_type  application/octet-stream;

  sendfile        on;
  keepalive_timeout  65;

  include /etc/nginx/conf.d/*.conf;
}
Finally, add the following configuration for the blog site:
server {
  listen 80;
  listen [::]:80;
  server_name <site_name>;

  client_max_body_size 50m;

  location / {
    proxy_pass http://127.0.0.1:2368;
    proxy_http_version 1.1;

    proxy_set_header Host $host;

    proxy_set_header X-Forwarded-For  $proxy_add_x_forwarded_for;

    proxy_set_header Upgrade    $http_upgrade;     # websocket passthrough
    proxy_set_header Connection "upgrade";
  }
}
Step 4 — Expose It to the Internet with Cloudflare Tunnel
This is the part that makes the whole setup elegant. Cloudflare Tunnel creates an outbound-only encrypted connection from your Pi to Cloudflare’s edge; no port forwarding, no exposing your home IP.
To install cloudflared, run following in your terminal
curl -L https://pkg.cloudflare.com/cloudflare-main.gpg | sudo tee /usr/share/keyrings/cloudflare-main.gpg > /dev/null
echo 'deb [signed-by=/usr/share/keyrings/cloudflare-main.gpg] https://pkg.cloudflare.com/cloudflared jammy main' | sudo tee /etc/apt/sources.list.d/cloudflared.list
sudo apt update && sudo apt install cloudflared -y
After the installation is complete, you can login and create a tunnel
cloudflared tunnel login
cloudflared tunnel create my-blog
This will return a tunnel it which you will need later, so make sure you copy it and keep it somewhere safe.
Next, we will create a configuration for the tunnel to route our traffic (~/.cloudflared/config.yml). In the same file add the following:
tunnel: <YOUR_TUNNEL_ID>
credentials-file: ~/.cloudflared/<YOUR_TUNNEL_ID>.json
ingress:
  hostname: yourdomain.com
  service: http://localhost:80
  service: http_status:404
Finally, route the domain and run as a service:
cloudflared tunnel route dns my-blog yourdomain.com
sudo cloudflared service install
sudo systemctl enable cloudflared
sudo systemctl start cloudflared
Step 5 — Start the services using docker
cd ~/blog
docker compose up -d
Your blog is live. 🚀
Visit https://yourdomain.com/ghost to complete the setup wizard.
Some tips from Running This in Production:
• Backups: The two directories that matter are ./ghost-content and ./mysql-data. Automate their backup with a simple cron job to an external drive or cloud storage.
• Updates: Ghost releases frequently. To update, just pull the new image and recreate the container; content is safe in the bind mount.
• Performance: The Pi 3B+ handles Ghost fine for personal/low-traffic blogs. MySQL is the heavier process; give it time on first boot.
• SSL: Cloudflare Tunnel handles TLS automatically between the user and Cloudflare. Enable “Full (strict)” SSL mode in Cloudflare dashboard for end-to-end encryption.
That’s a Wrap!
You now have a fully self-hosted Ghost blog running on a Raspberry Pi, publicly accessible over HTTPS, with transactional email and persistent storage. It’s a surprisingly robust setup for a personal blog or portfolio site.
The entire stack is reproducible: copy your docker-compose.yml and your bind-mounted folders to any machine and you’re back up in minutes.